Guides
Drying out a home: what really works
Water can damage walls, floors, and hidden materials fast. This guide explains what actually helps drying (and what doesn’t), typical costs, and how to find a trusted local pro—using DrySpan, a free matching service.
Start with safety and fast action (drying works best when you move quickly)
It’s stressful, but drying out a home is mostly about doing the right things early. Water spreads into building materials within hours, and damage can continue even after the leak stops.
First, make sure the situation is safe. If you see sparks, exposed wiring, or standing water near electrical outlets, turn off power if you can do it safely, then keep people away from wet areas. If it’s sewage or flood water, treat it as contaminated.
Here’s a calm plan you can follow while you look for help:
1. Stop the water source (shut off the main valve if you can; if it’s beyond you, call your landlord/maintenance or a plumber).
2. Remove items from standing water if it’s safe to do so (small rugs, personal belongings that can be moved).
3. Ventilate if you can, but don’t rely on open windows alone for drying.
4. Call a water-damage restoration professional to extract water and start structural drying—DrySpan can help you get matched with local pros.
DrySpan is a free matching service, not a restoration contractor. We can’t do the drying ourselves, but we can help you connect with the right type of pro for your situation.
- If there is any life-safety threat (like active electrical hazards), call your local emergency number first.
Fans alone usually aren’t enough—here’s what drying really involves
You might think “more fans” is the answer. Fans can improve air movement, which helps drying, but fans alone often fail because moisture sits inside wet materials like drywall, wood framing, subfloors, insulation, and concrete.
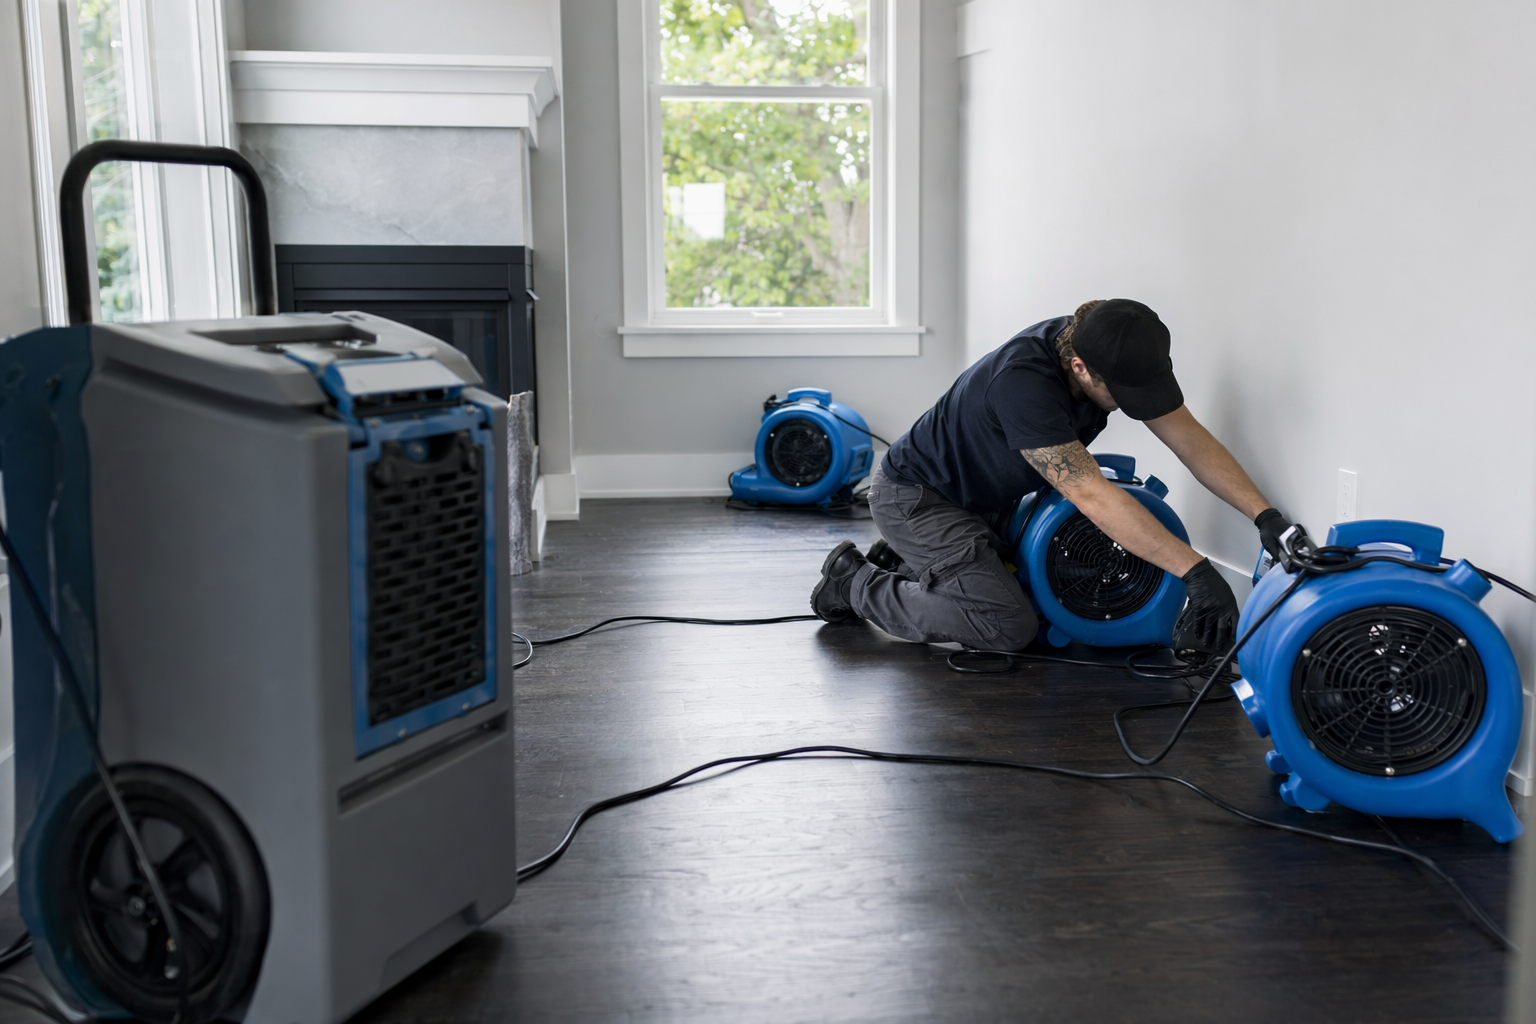
What pros do is called structural drying. In plain terms, structural drying pulls moisture out of the building using specialized equipment, then confirms the moisture is actually gone—not just “feels dry.”
Common tools and steps include:
- Water extraction: pumping and vacuuming standing water out fast (this is the step that matters most right after the leak).
- Air movers (industrial fans): directed airflow to evaporate moisture from surfaces and materials.
- Dehumidifiers: remove water vapor from the air so humidity drops and drying can continue.
- Careful moisture measurement: using moisture meters and readings to track drying progress in walls, floors, and sometimes behind finishes.
If water reached cavities, drying often requires checking behind drywall or under floors. Pros decide whether to open materials (“remove affected materials” or targeted access) based on how much water got in and what materials were affected.
- Open windows may help comfort, but drying typically needs controlled dehumidification plus strong airflow.
How pros dry walls, subfloors, and other hidden areas
A lot of damage happens out of sight. Water can travel along studs, under flooring, or into insulation. Even if the surface looks okay later, moisture can remain inside materials and continue harming them.
For floors and subfloors, drying may involve:
- Removing standing water quickly (extraction).
- Drying the underside if possible (for example, crawlspace or basement access).
- Addressing wet materials under flooring finishes if they’re saturated.
For walls, drying may involve:
- Drying the drywall surface and the materials behind it.
- In many cases, targeted drying/access so equipment can reach the wet area.
- Monitoring moisture levels in multiple spots, because moisture doesn’t always dry evenly.
For basements and concrete, drying often requires:
- Dehumidification and air circulation designed for concrete and damp air.
- Moisture tracking because concrete can hold and release moisture over time.
These are general descriptions. The right approach depends on what materials were wet, how long they were wet, and how the water entered (leak, burst pipe, storm, sewage backup). A local pro can explain their plan after a site assessment.
- Targeted access isn’t “extra”; it can be necessary when moisture is trapped behind finishes or under flooring.
How long drying takes—and how to know when a home is truly dry
Drying time varies a lot. It depends on water amount, the types of materials affected (drywall vs. plaster, wood vs. concrete), indoor humidity, temperature, and how much water moved into cavities.
Typical guidance you may hear from professionals is measured in days to over a week for many cases, but some situations take longer—especially if water sat for a while or the home has higher humidity. The key is not guessing by eye.
A reliable “we’re done” should be based on moisture readings. Ask a pro what their measurement plan is and how they confirm drying:
- Which areas they will measure (walls, floors, subfloors, insulation).
- How often they check readings.
- What “dry” means in terms of their moisture monitoring.
Also watch for signs that drying may not be complete yet, such as persistent musty odor, ongoing dampness in corners, or materials that feel cool and wet beneath surfaces.
DrySpan helps you find a local water-damage restoration pro by matching you to the right services for your situation. We’re not a contractor, so you’ll still want a pro to do the assessment and moisture verification on-site.
- “Looks dry” can be misleading—hidden moisture is the common reason problems return later.
Typical costs (planning ranges) and what to ask for in writing
Costs vary widely. The real price depends on how much water there is, what it touched (finished surfaces vs. hidden cavities), the affected square footage, your home type, and your city/state.
Here are typical planning ranges in the US (not quotes):
- Emergency water extraction: roughly $400–$2,000
- Structural drying for part of a home (e.g., one room or a small area): roughly $1,500–$5,000
- Whole-home water-damage restoration: roughly $3,000–$25,000+
- Mold remediation (if indicated after drying and depending on conditions): roughly $1,500–$6,000
Because the final cost isn’t one number, ask the pro to put key details in writing, such as:
1. What they will do first (extraction and drying equipment plan).
2. What areas they will treat and how they’ll measure moisture.
3. Any recommended access/removal steps (and why).
4. How they will document drying progress (moisture readings).
If you’re dealing with insurance, you can ask generally about how they document the work, but rules vary by policy and state. DrySpan can help you connect with local pros; we do not provide insurance or legal advice.
- Get it in writing: scope of work, equipment approach, and documentation of drying progress.
A quick story: acting fast helped—then the home was truly dry
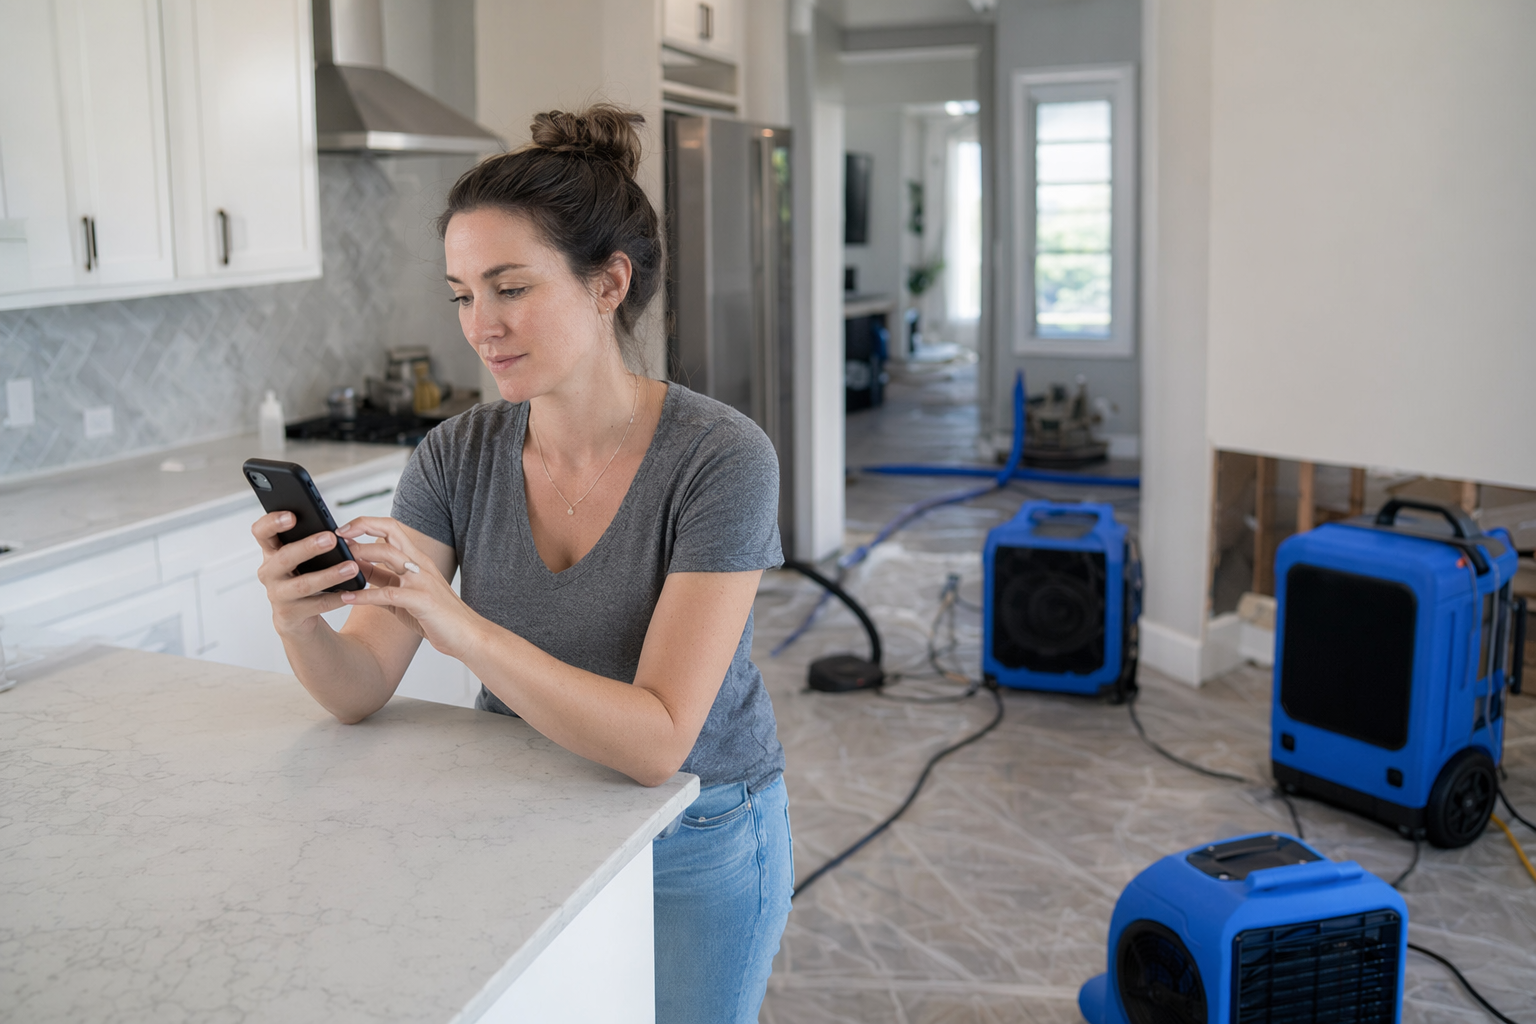
A renter in a small US apartment noticed water coming from a ceiling stain after a plumbing problem upstairs. The leak stopped overnight, but the room stayed wet by morning. They didn’t just run household fans—they kept people out of the wet area, avoided stepping into deeper puddles, and focused on safety.
They contacted DrySpan and requested a match by sharing what happened and their ZIP code. Within the same day, they connected with a local water-damage restoration professional for assessment and structural drying.
The pro explained that drying needed more than airflow. They used water extraction first, then set up air movers and dehumidifiers, and took moisture measurements across the affected wall and floor areas. The team checked progress over several days and documented readings, not just how things looked.
After drying was confirmed by moisture readings, the renter could move items back and plan next steps for cleanup. Acting quickly and verifying dryness helped avoid “it looks fine” surprises later.
- This is an anonymized example based on common outcomes. Your situation may differ.
To dry a home after water damage, you need fast water extraction, proper dehumidification and airflow, and real moisture testing—fans alone often aren’t enough—and DrySpan can help you find a local pro (free to use).
FAQ
Common questions
Should I run fans and a dehumidifier myself right away?
Air movement and dehumidification can help, but they usually can’t replace proper water extraction and structural drying when materials are saturated. If you can safely do it, you may start improving airflow and humidity while you arrange professional drying and moisture measurement.
How do I tell if drywall or flooring is still wet?
Dry surfaces can hide moisture inside. Professionals confirm dryness using moisture meters and by checking multiple areas, including behind finishes and under flooring when needed. Look for persistent dampness, musty odors, or readings that haven’t met drying goals.
Will mold happen if I dry quickly?
Mold risk depends on moisture, materials, and how long water remained. Drying fast and keeping materials dry reduces risk, but it doesn’t guarantee there will be no mold in every case. If mold is suspected, ask a pro what testing or evaluation is appropriate.
Do restoration pros always open walls or remove flooring?
Not always. It depends on what was wet, how much water soaked in, and where the moisture migrated. Pros choose access and removal when it helps them reach trapped moisture and confirm it’s actually dry.
Is DrySpan a restoration contractor?
No. DrySpan is a free matching service that helps you connect with local water-damage restoration professionals. We don’t perform restoration work and we don’t provide insurance or legal advice.